Before you start
- Your Word file must be saved on SharePoint or OneDrive.
- You must have the Publisher role on the publication in the Portal.
- Your Excel tables should already be tagged and validated before you start tagging in Word.
- You need a Publication ID from the Portal. Copy it from the publication settings and paste it into the Drafts Word add-in to connect your document.
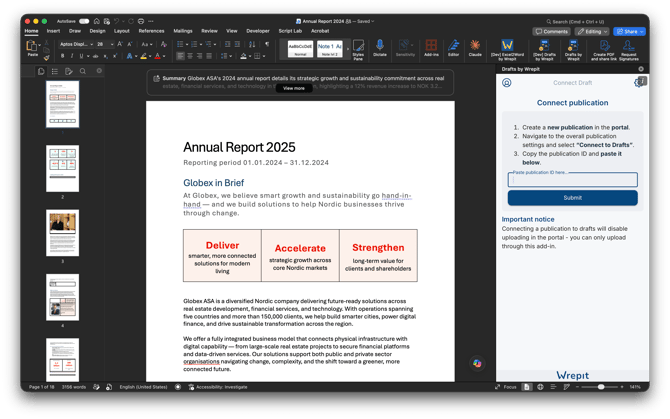
Step 1: Open the add-in and connect to your publication
Open the Drafts Word add-in and sign in with your Microsoft account. Paste your Publication ID to connect the document to the correct publication in the Portal. Then select your base taxonomy.

Step 2: Add a root taxonomy statement
Click Add New Root and select a root element from the list (e.g., Notes to Financial Statements, Accounting Policies). You can add multiple roots. Toggle non-mandatory roots on or off as needed.

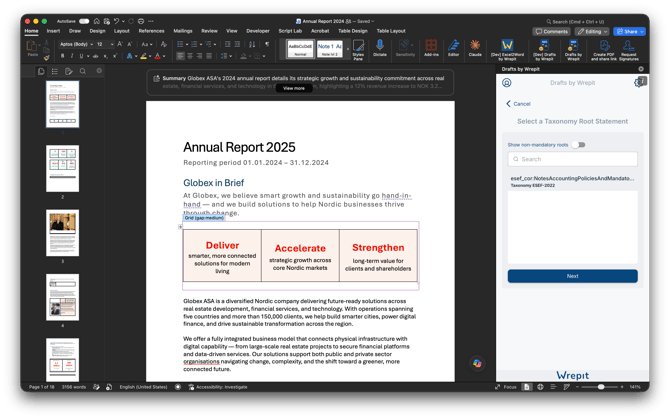
The add-in will display the tags associated with the selected root. Tags marked as required are shown by default.
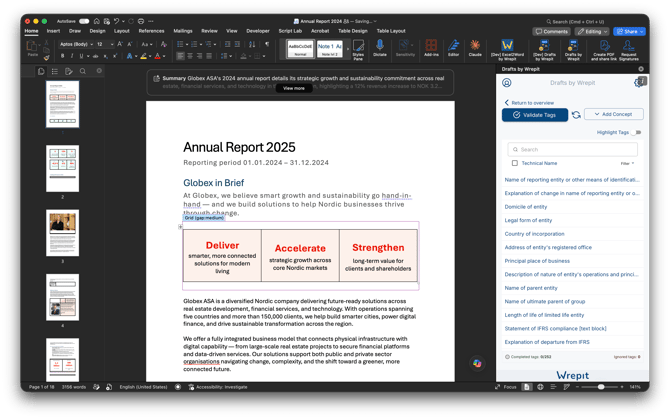
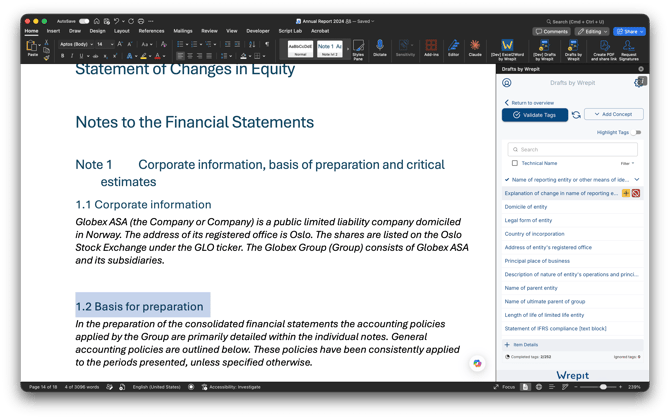
Step 3: Tag text blocks
Keep the Required filter on while working through the tags.
Tag a text block
- Find the appropriate tag using the search field in the add-in. Review the tag description to confirm it matches your content.
- Highlight the relevant text in your Word document.
- Click the + (plus) icon to insert the tag.
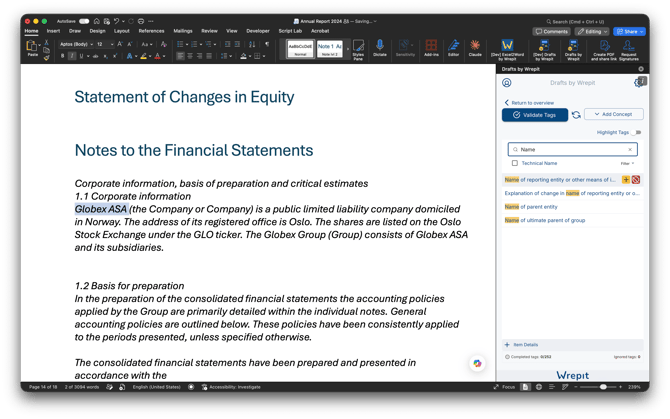
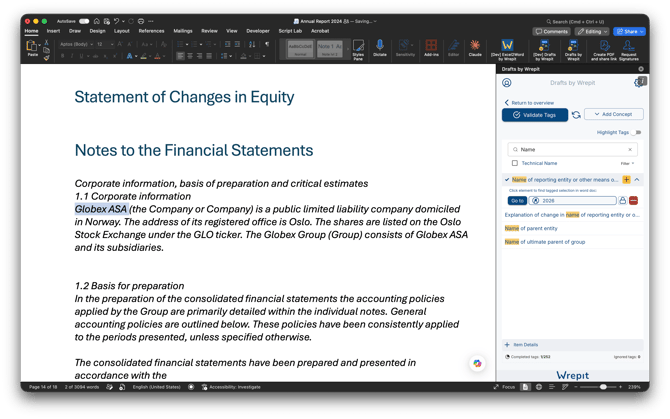
The tag is inserted as a content control, which locks the tagged text to keep the tag attached even if the text is edited. A yellow checkmark appears next to the tag, indicating it has been applied but not yet validated.
Tag a chapter
To tag an entire section, you can highlight just the heading. The add-in will offer two options:
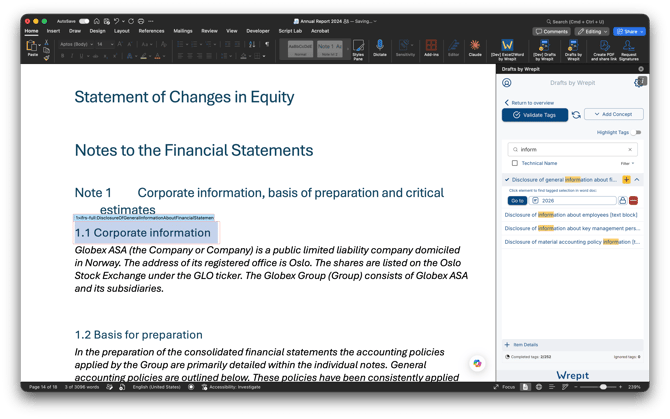
- Tag the entire chapter — applies the tag to the heading and all content within the section.
- Tag the selection only — applies the tag only to the highlighted text.

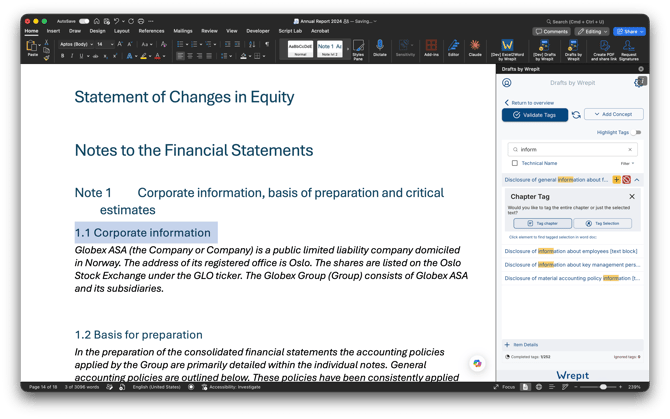
Chapter tagging ensures that any updates or additions to the section remain part of the tagged content. Use selection tagging for smaller, specific text blocks within a section.
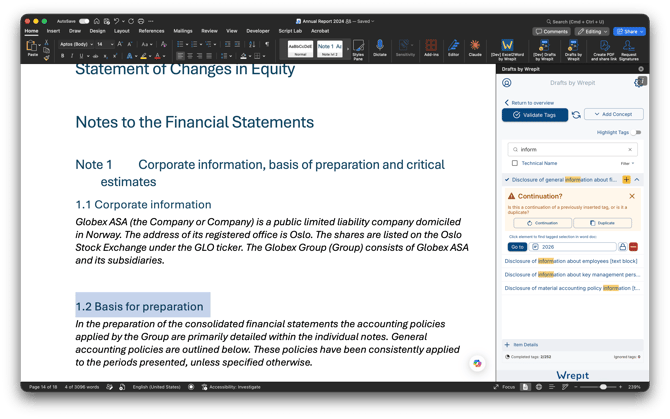
Handle continuation and duplicate tags
- Continuation tags — used when a single disclosure extends across multiple sections or pages. Mark additional parts as a continuation of the original tag so the entire disclosure is treated as one logical block.
- Duplicate tags — used when the same information appears in multiple places. You must confirm that you will update or replace the duplicate before completing the tagging process, as duplicate tags are not allowed in the final report.
Manage unused tags
If certain tags do not apply to your company, you can ignore and hide them from the list. Ignored tags will not appear as missing, so the tag completion counter reflects your actual progress.
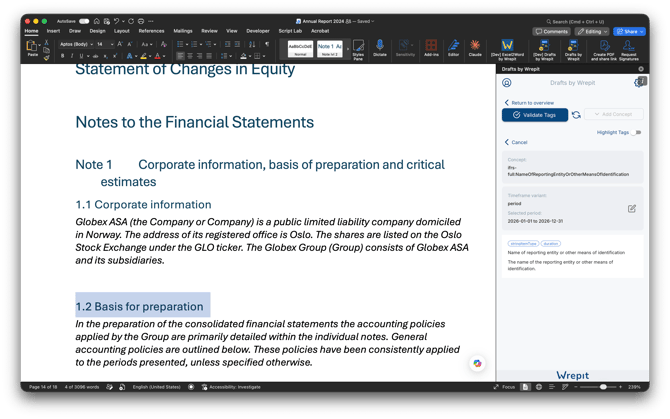
Step 4: Override time frames (if needed)
By default, each tag is assigned the current reporting year. If a text block belongs to a different period:
- Click the year displayed next to the tag in the add-in.
- Select the correct date or reporting period.
- Click Save to apply.
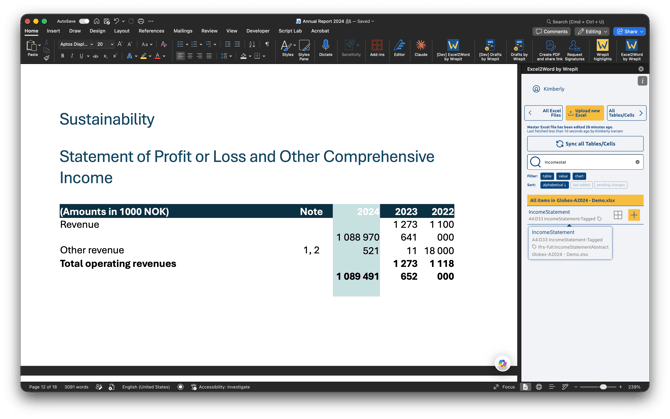
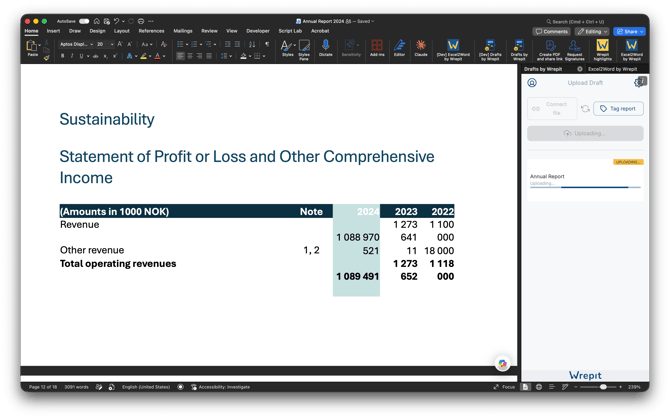
Step 5: Insert tagged tables from Excel
If you have tagged tables in Excel using E2W (Excel2Word), you can insert them into your Word document. The tagging data stays linked when the table is inserted.
In E2W, a tag icon appears next to named ranges that have been tagged. Insert the table as you normally would by clicking the plus icon.
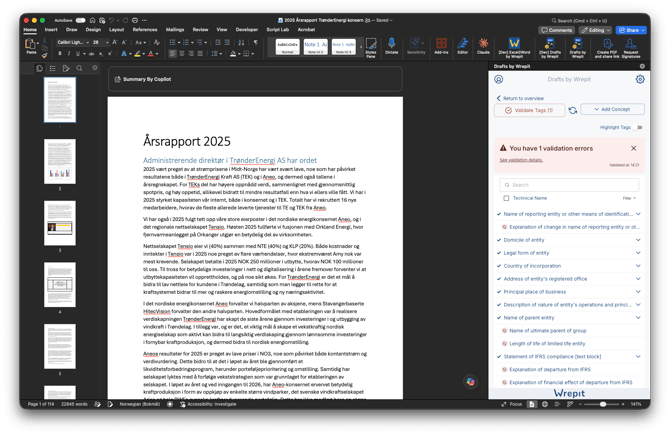
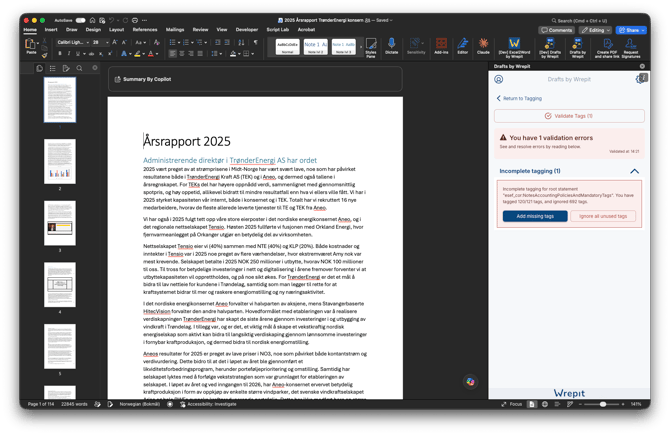
Step 6: Validate
Click Validate Tags in the add-in. Validation checks both your text block tags and any tagged Excel tables connected to the document.
If errors are found, the add-in shows the count and details. Common validation results include:
- Incomplete tagging — required tags from a root statement are missing. You can add the missing tags or ignore unused ones.
- Tag errors — issues with specific tags (wrong time frame, missing content, etc.).
Fix the flagged items and click Validate Tags again. Repeat until validation is clean.
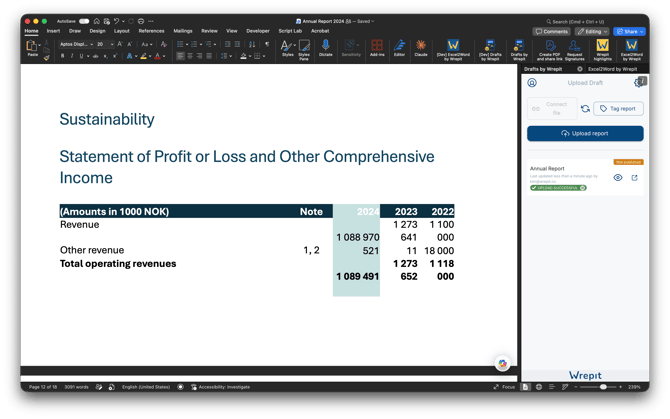
Step 7: Upload to the Portal
Once your report is validated, click Upload Report in the add-in. This uploads the Word document and all connected Excel tagging data to the Portal.
After uploading, you can:
- Preview — click the Preview icon to see the uploaded report in your browser.
- Open in Portal — go directly to the Publication Draft Settings to review, export, or manage the report.
To export and validate the final ESEF package, see Export and validate in the Portal.